
- 作者:老汪软件技巧
- 发表时间:2024-12-31 07:04
- 浏览量:83
Ceph 安装全攻略一、引言
在当今的数据存储领域,Ceph 以其强大的分布式存储能力备受瞩目。无论是大规模的数据中心,还是对存储性能、可靠性有高要求的企业环境,Ceph 都能发挥关键作用。今天,就来和大家分享一下基于 Ubuntu 系统的 Ceph 安装过程,让你轻松上手这个神奇的存储系统。
二、安装前准备
sudo apt-get update
sudo apt-get upgrade
sudo apt-get install wget vim -y
除此之外还需安装containerd,过程百度自行搜索。此外还需配置镜像quay.io/ceph/ceph:v19 的代理,配置可以在/etc/ceph/ceph.conf里面配置,内容如下:
[global]
container_image = registry.cn-hangzhou.aliyuncs.com/your-namespace/ceph:v19
在这里我使用代理,就没有配置这个
三、Ceph 安装步骤添加 Ceph 源
wget -q -O- 'https://mirrors.aliyun.com/ceph/keys/release.asc' | sudo apt-key add -
echo deb https://mirrors.aliyun.com/ceph/debian-pacific/ $(lsb_release -sc) main | sudo tee /etc/apt/sources.list.d/ceph.list
sudo apt update
2. 安装 Ceph
sudo apt install -y cephadm
3. 安装工具类
sudo apt install ceph-common -y
3. 配置 Ceph 集群
sudo cephadm bootstrap --mon-ip 192.168.136.131
当主节点配置好之后会看到有以下输出:
root@k8s-master:~# sudo cephadm bootstrap --mon-ip 192.168.136.131
This is a development version of cephadm.
For information regarding the latest stable release:    https://docs.ceph.com/docs/squid/cephadm/install
Creating directory /etc/ceph for ceph.conf Verifying podman|docker is present...
Verifying lvm2 is present...
Verifying time synchronization is in place...
Unit systemd-timesyncd.service is enabled and running
Repeating the final host check...
docker (/usr/bin/docker) is present
systemctl is present
lvcreate is present
Unit systemd-timesyncd.service is enabled and running
Host looks OK Cluster fsid: d4d377f0-c330-11ef-8677-000c29b6e97a
Verifying IP 192.168.136.131 port 3300 ...
Verifying IP 192.168.136.131 port 6789 ...
Mon IP `192.168.136.131` is in CIDR network `192.168.136.0/24`
Mon IP `192.168.136.131` is in CIDR network `192.168.136.0/24`
Mon IP `192.168.136.131` is in CIDR network `192.168.136.2/32`
Mon IP `192.168.136.131` is in CIDR network `192.168.136.2/32`
Internal network (--cluster-network) has not been provided, OSD replication will default to the public_network
Pulling container image quay.io/ceph/ceph:v19...
Ceph version: ceph version 19.2.0 (16063ff2022298c9300e49a547a16ffda59baf13) squid (stable) Extracting ceph user uid/gid from container image...
Creating initial keys...
Creating initial monmap...
Creating mon...
Waiting for mon to start...
Waiting for mon...
mon is available
Assimilating anything we can from ceph.conf...
Generating new minimal ceph.conf...
Restarting the monitor...
Setting public_network to 192.168.136.2/32,192.168.136.0/24 in mon config section
Wrote config to /etc/ceph/ceph.conf
Wrote keyring to /etc/ceph/ceph.client.admin.keyring
Creating mgr...
Verifying port 0.0.0.0:9283 ...
Verifying port 0.0.0.0:8765 ...
Verifying port 0.0.0.0:8443 ...
Waiting for mgr to start...
Waiting for mgr...
mgr not available, waiting (1/15)...
mgr not available, waiting (2/15)...
mgr not available, waiting (3/15)...
mgr is available Enabling cephadm module...
Waiting for the mgr to restart...
Waiting for mgr epoch 5...
mgr epoch 5 is available
Setting orchestrator backend to cephadm...
Generating ssh key...
Wrote public SSH key to /etc/ceph/ceph.pub
Adding key to root@localhost authorized_keys...
Adding host k8s-master...
Deploying mon service with default placement...

Deploying mgr service with default placement...
Deploying crash service with default placement...
Deploying ceph-exporter service with default placement...
Deploying prometheus service with default placement...
Deploying grafana service with default placement...
Deploying node-exporter service with default placement...
Deploying alertmanager service with default placement...
Enabling the dashboard module...
Waiting for the mgr to restart...
Waiting for mgr epoch 9...
mgr epoch 9 is available
Generating a dashboard self-signed certificate...
Creating initial admin user...
Fetching dashboard port number...
Ceph Dashboard is now available at:

            URL: https://k8s-master:8443/
            User: admin
            Password: j44ic3ssa4

Enabling client.admin keyring and conf on hosts with "admin" label
Saving cluster configuration to /var/lib/ceph/d4d377f0-c330-11ef-8677-000c29b6e97a/config directory
You can access the Ceph CLI as following in case of multi-cluster or non-default config:

      sudo /usr/sbin/cephadm shell --fsid d4d377f0-c330-11ef-8677-000c29b6e97a -c /etc/ceph/ceph.conf -k /etc/ceph/ceph.client.admin.keyring

Or, if you are only running a single cluster on this host:
      sudo /usr/sbin/cephadm shell

Please consider enabling telemetry to help improve Ceph:
      ceph telemetry on

For more information see:
      https://docs.ceph.com/en/latest/mgr/telemetry/ Bootstrap complete.
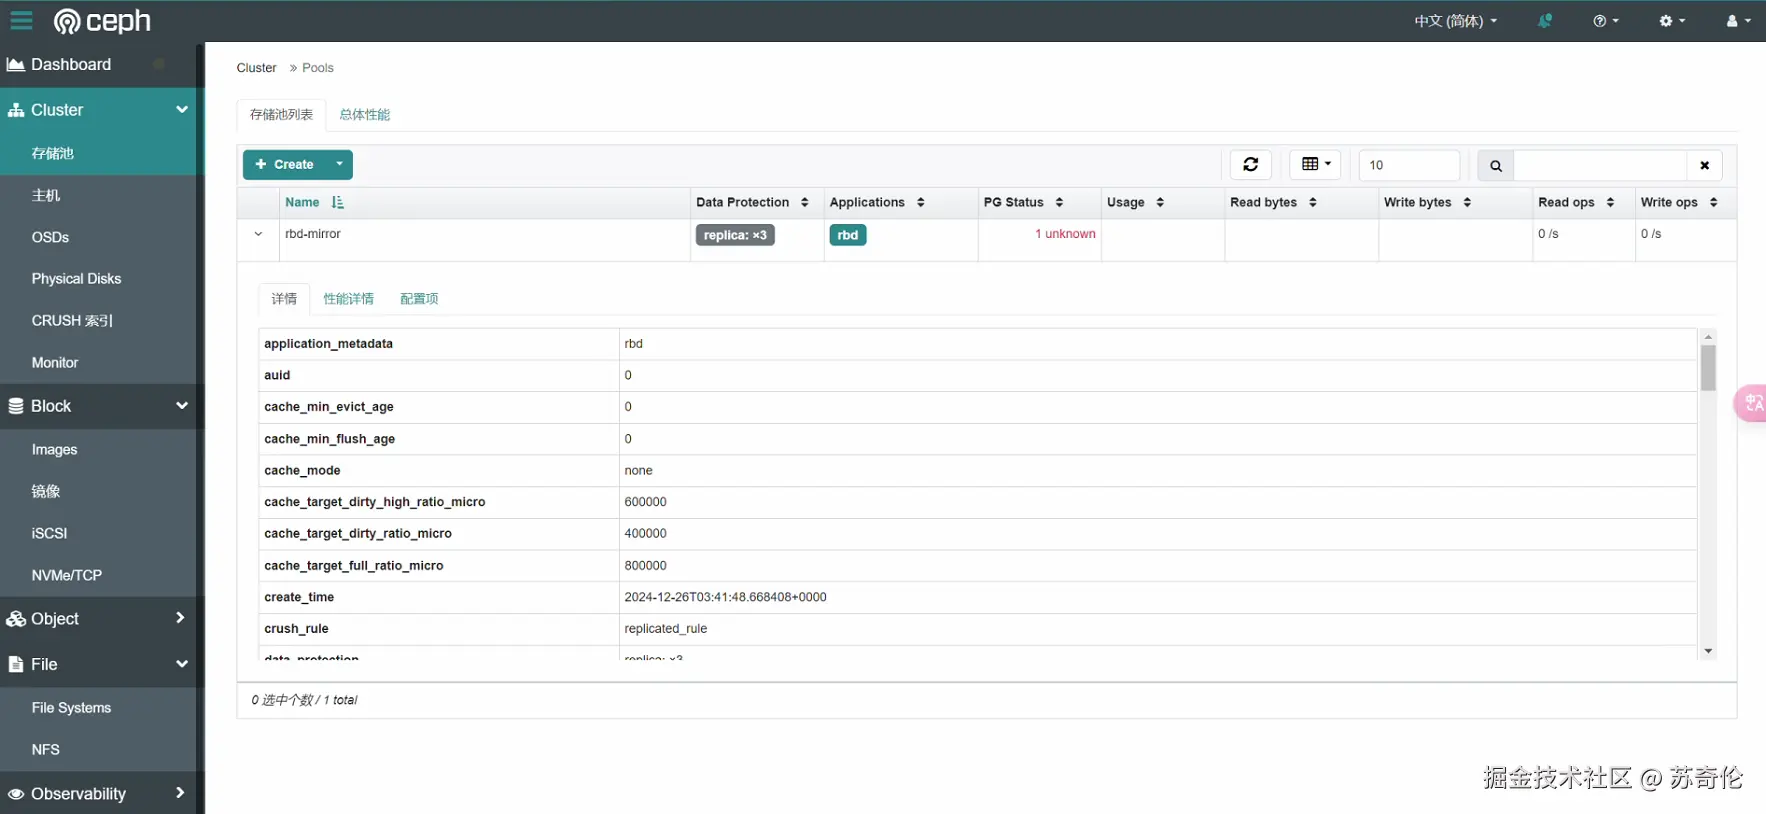
这样就安装好了,接下来可以在浏览器中打开:8443/第一次登录会要求你改密码,登录之后界面
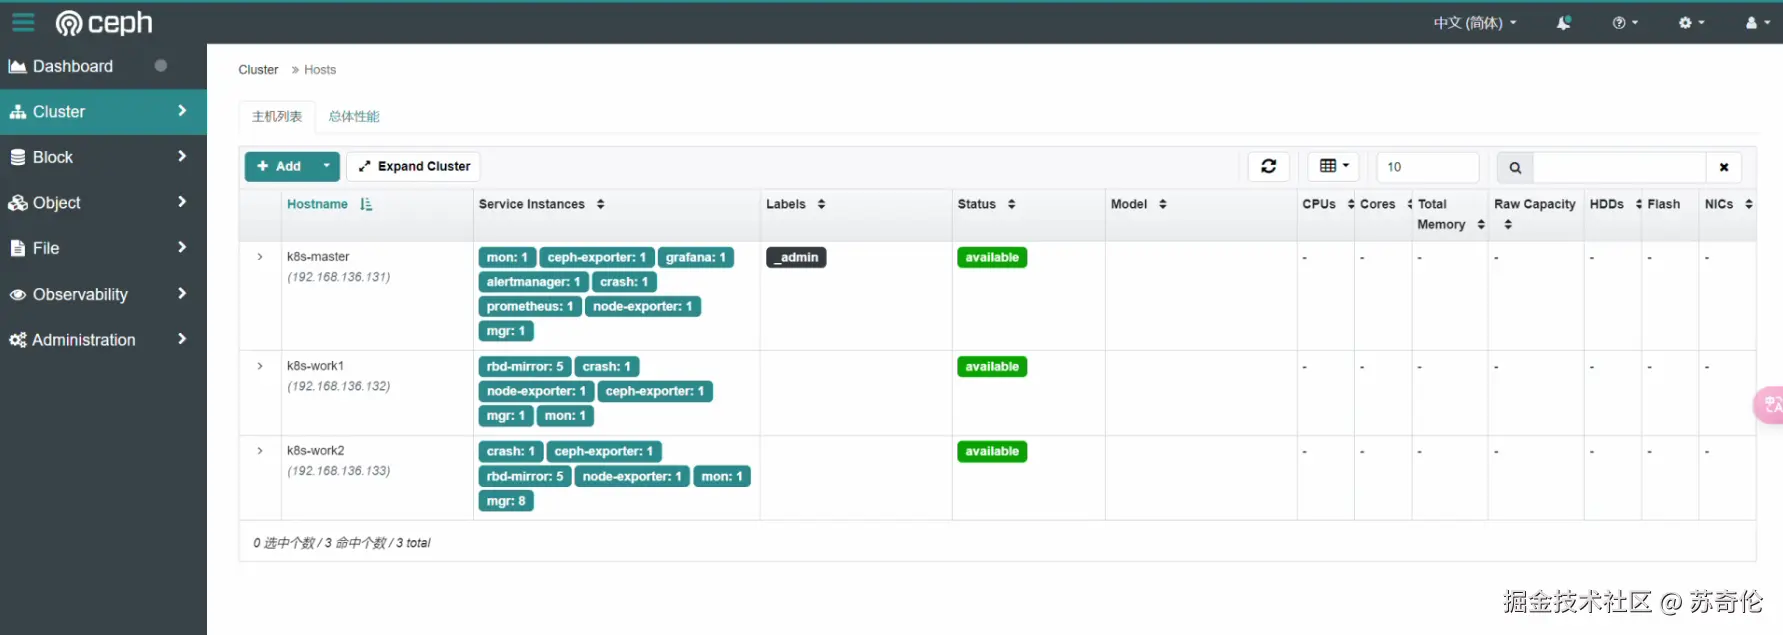
最后添加节点组成集群,添加节点的指令如下,需要先使用ceptadm shell,再使用第二行的命令
sudo cephadm shell
ceph orch host add k8s-work1 192.168.136.132
接下来就是踩坑环节了,我按照这个步骤添加,失败了:

这是因为ceph默认是使用密钥进行ssh连接的,需要配置密钥登录首先修改ssh配置文件(全部节点)
sudo vim /etc/ssh/sshd_config
#保以下行存 确在且没有被注释
PermitRootLogin yes
PasswordAuthentication yes
然后重启ssh。Ps:有的Ubuntu用户的root默认是没有设置密码的,切换root登录需要设置一下密码的
sudo passwd root
配置登录密钥,在主节点上操作,直接回车
ssh-keygen -t rsa -b 4096
然后将密钥复制到子节点:
ssh-copy-id root@192.168.136.132
ssh-copy-id root@192.168.136.133
复制会要求输入密码,输入即可但是再添加节点的时候依然失败了,这大概因为cephadm shell和原来的界面不再一个空间(我猜的)使用以下命令给ceph添加密钥
ssh-keygen -t rsa -b 4096 -f ~/.ssh/ceph-
ceph cephadm get-pub-key > ~/ceph.pub
ssh-copy-id -f -i ~/ceph.pub root@192.168.136.132
ssh-copy-id -f -i ~/ceph.pub root@192.168.136.133
添加好之后,再使用cephadm shell 就能添加成功了

之后页面上也可以看到节点
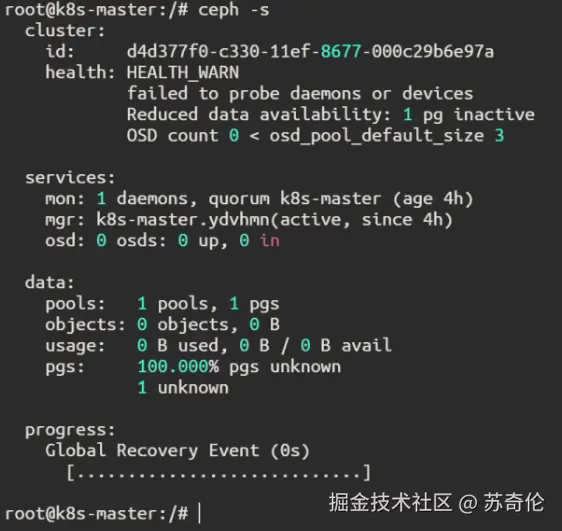
集群状态查看
使用 ceph -s 命令查看集群整体健康状态,确保全部节点正常上线,数据均匀分布,无故障的 PG(Placement Group):
ceph -s
四、总结
通过以上步骤,基于 Ubuntu 系统的 Ceph 分布式存储系统应已成功搭建。后续使用中,持续探索 Ceph 更多高阶功能,像数据备份、容灾恢复等,深度挖掘其强大存储潜能,为数据安全与高效存储护航。
希望这篇博客能助力你顺利完成 Ceph 在 Ubuntu 上的安装,如有任何疑问,欢迎于评论区畅所欲言、交流探讨。


